
This page is intended as a how-to guide for removing the stock fog lights and changing the bulbs. This page contains:
MKII Toyota MR2s were available with a pair of fog lights mounted in the bumper. The entire fog light assemblies must be removed to change the bulbs. You might also want to remove them for replacement with an aftermarket set of fog lights, or simply to save weight.
This SHOULD be a very simple job, requiring only a phillips head screw driver. In reality, the fog light mounting screws on many MKII MR2s rust and seize in place. It's common to have to drill them out or use an extractor to remove them. This task is further complicated by the limited access to the screws themselves, since they're deeply recessed. It's not that tough of a job, just a lot harder than it should be.
Required tools/supplies:
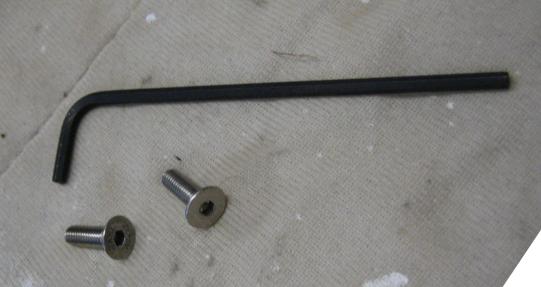
I replaced the stock screws with a stainless steel set of Allen bolts from Twos R Us. At six bucks to my door, this made more sense to me then digging around in the bins at Home Depot.
Disclaimers:
If you're lucky, these screws will come right out and you skip ahead to the bulb replacement. If not, give them a good soaking with PB Blaster and read on.
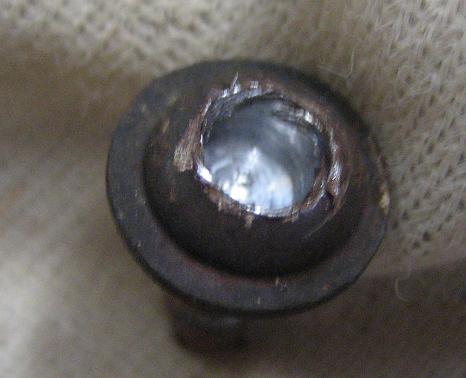
Step 1: Drill out the screw heads to make a hole for the extractor to sink into. Due to the limited clearance around the screws, I had to use an extended bit (3/16"), as shown below. Go slowly, and be sure the drill doesn't wander into the housing.
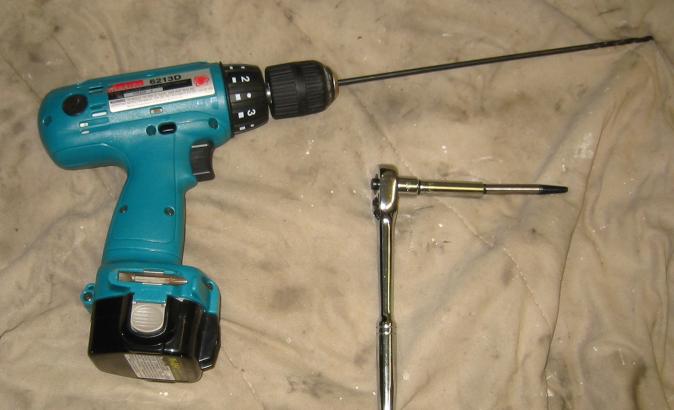
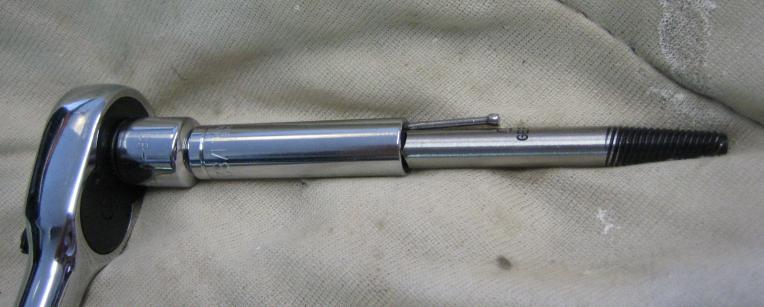
Step 2: Use an extractor to remove the screws. This is basically a hardened steel screw, reverse threaded, with a square tap profile on the drive end. My extractors weren't long enough to clear the bumper, so I couldn't get a tap wrench on the end. I used a tight fitting six point deep socket and wedged in a nail to keep it from spinning. The resulting contraption wobbled a bit but still delivered plenty of torque. You can also buy tap extenders which are a bit less of a kludge.
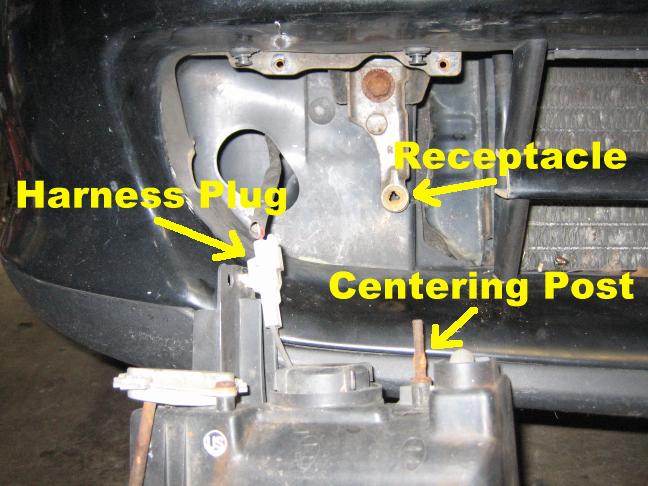
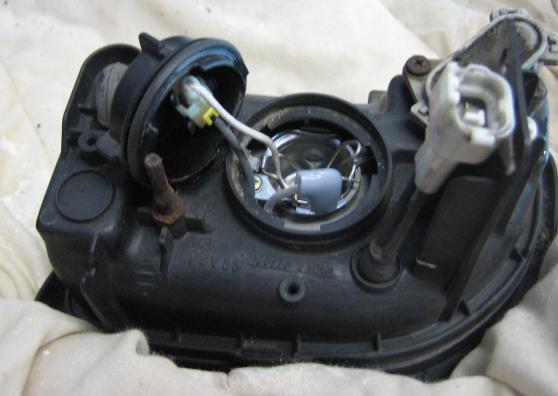
Step 3: Remove the housing. With the two screws now removed, the only things holding the fog light assembly in are the wiring harness and a centering post. The post is a steel shaft extending from the rear of the housing that fits into a plastic receptacle in the bumper. This helps keep the fog light aligned. Pull the fog light housing away from the bumper until you feel it come free from the centering post. In my case, this took a bit of yanking. Once it's free, disconnect the harness and set it aside.
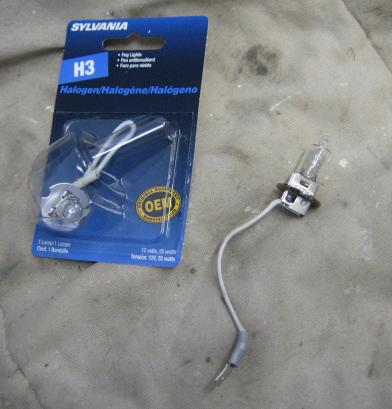
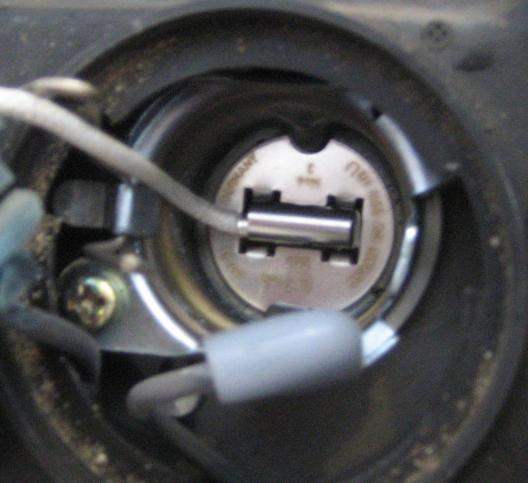
Step 4: Replace the bulb. This part is fairly straight forward. There's a cap on the back of the housing that you can unscrew to get access to the bulb.
Step 5: Replace the housing. This last step is basically trivial, you're just doing the above in reverse. Reattach the harness plug, line up the centering plug with the receptacle, and push the fog light housing in towards the bumper until it's seated. The last step is to secure the housing with the two screws. As I mentioned above, I recommend getting the replacement screws from Twos R Us. They even come with an Allen wrench for tightening them down.
 Up to the top